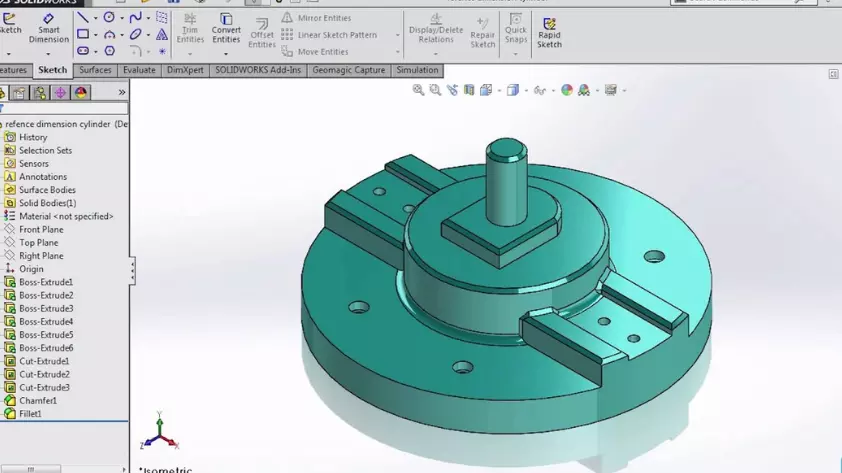
SolidWorks is a popular computer-aided design (CAD) software used by engineers and designers worldwide. It allows users to create 2D and 3D designs, as well as manipulate and modify them. One of the most important features of SolidWorks is the ability to show dimensions, which helps users understand the size and scale of their designs. In this article, we’ll show you how to show dimensions in SolidWorks, step-by-step.
Creating a Sketch:
- Starting a New Sketch
- Choosing a Plane
- Sketching Geometry

Adding Dimensions:
- Linear Dimensions
- Angular Dimensions
- Ordinate Dimensions
Editing Dimensions:
- Selecting Dimensions
- Changing Dimensions
- Deleting Dimensions
Using Smart Dimension:
- What is Smart Dimension?
- How to Use Smart Dimension
Using Equations:
- What are Equations?
- How to Use Equations
Showing Dimensions in a Drawing:
- Creating a Drawing
- Adding Views
- Adding Dimensions

Conclusion:
In conclusion, showing dimensions in SolidWorks is an important feature that helps users understand the size and scale of their designs. By following the steps outlined in this article, you can learn how to create sketches, add dimensions, use Smart Dimension and Equations, and show dimensions in a drawing. With these tools, you can create complex designs and communicate them effectively to others. So why wait? Start exploring the world of SolidWorks today!
What is SolidWorks?
SolidWorks is a computer-aided design (CAD) software used by engineers and designers to create 2D and 3D designs.
Why is showing dimensions important in SolidWorks?
Showing dimensions helps users understand the size and scale of their designs, and communicate them to others.

Unlock Full Article
Watch a quick video to get instant access.
Social Media